

Marble CAKE STANDS DIY
Baking is a sport in our home, on an Olympic level. Pounds of sugar, flour, butter, chocolate chips and sprinkles on hand at all times. It’s almost always game day around here and the oven barely rests.
When baking is a big part of your life, you tend to accumulate a lot of ‘gear’. I have more measuring cups and wooden spoons than I care to admit. And don’t get me started on icing bottles. Of all the bits & bobs that come with the territory cake stands are my favorite. I’ve been collecting for years, and find I always need one more than I have. I have wood stands and metal stands and glass stands and even a rabbit shaped stand. The most prized stand I have was a wedding gift made by a dear friend’s husband, a meticulously finished cross section from a tree with initials for me and my husband burned into the front. I use and love them all.
I’ve always admired marble cake stands. Marble stays cold, which is a great quality in something that holds pastries. There are so many pretty options on the market these days. What so many of them have in common is a chunkier base, which makes sense because marble is heavy and needs support. But I don’t actually love that look.
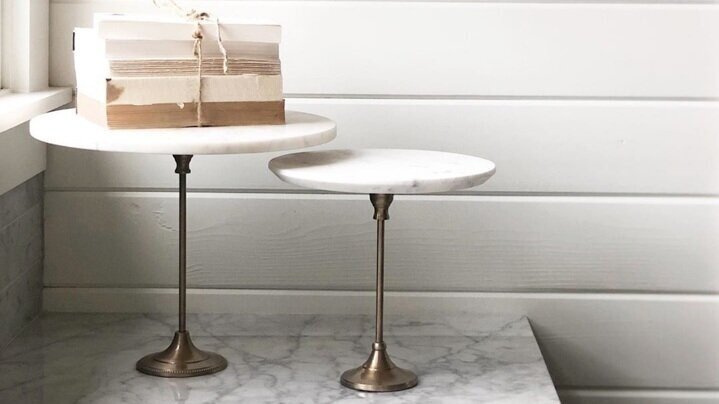
So, I set out to see if I could make a marble cake stand that was more delicate looking. Marble is actually not hard to find. While a timeless classic, it’s also seemingly trending. Soap dishes, wine chillers, serving trays and beyond, marble is kind of everywhere at the moment. I found several sizes of round marble trivets in both Homegoods and the At Home store. Perfect for the plate part of a cake stand. I even found a 10” round with scalloped edges, which came in a set of four for less than $20, insane deal. With my ‘plates’ in hand, it was time to find the stands. I chose to go with brass toned candle sticks. They are also easy to find, have some weight to them, come in varying heights, and at $8-$20 each, are a great value. The candlesticks I used came from the At Home store. All told, each cake stand I made cost between $18-$24, which is a fairly good deal.
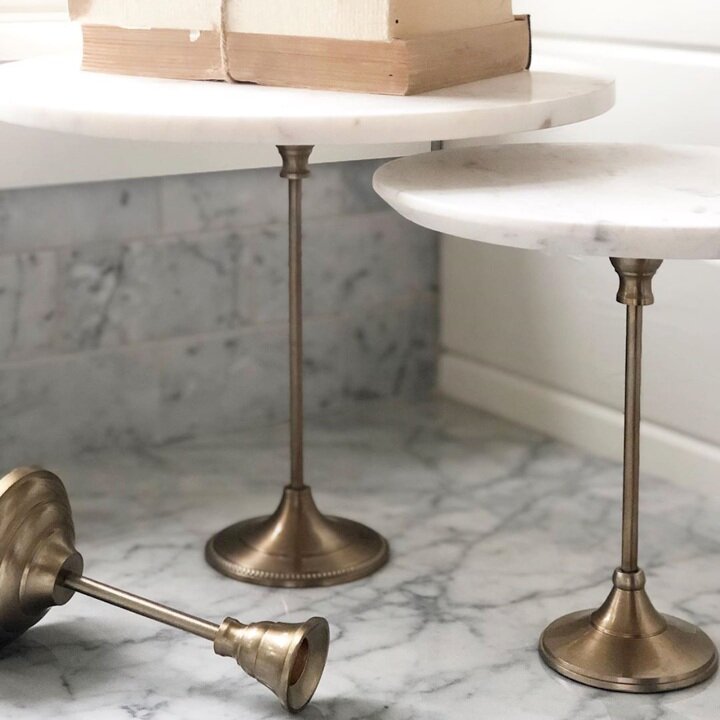
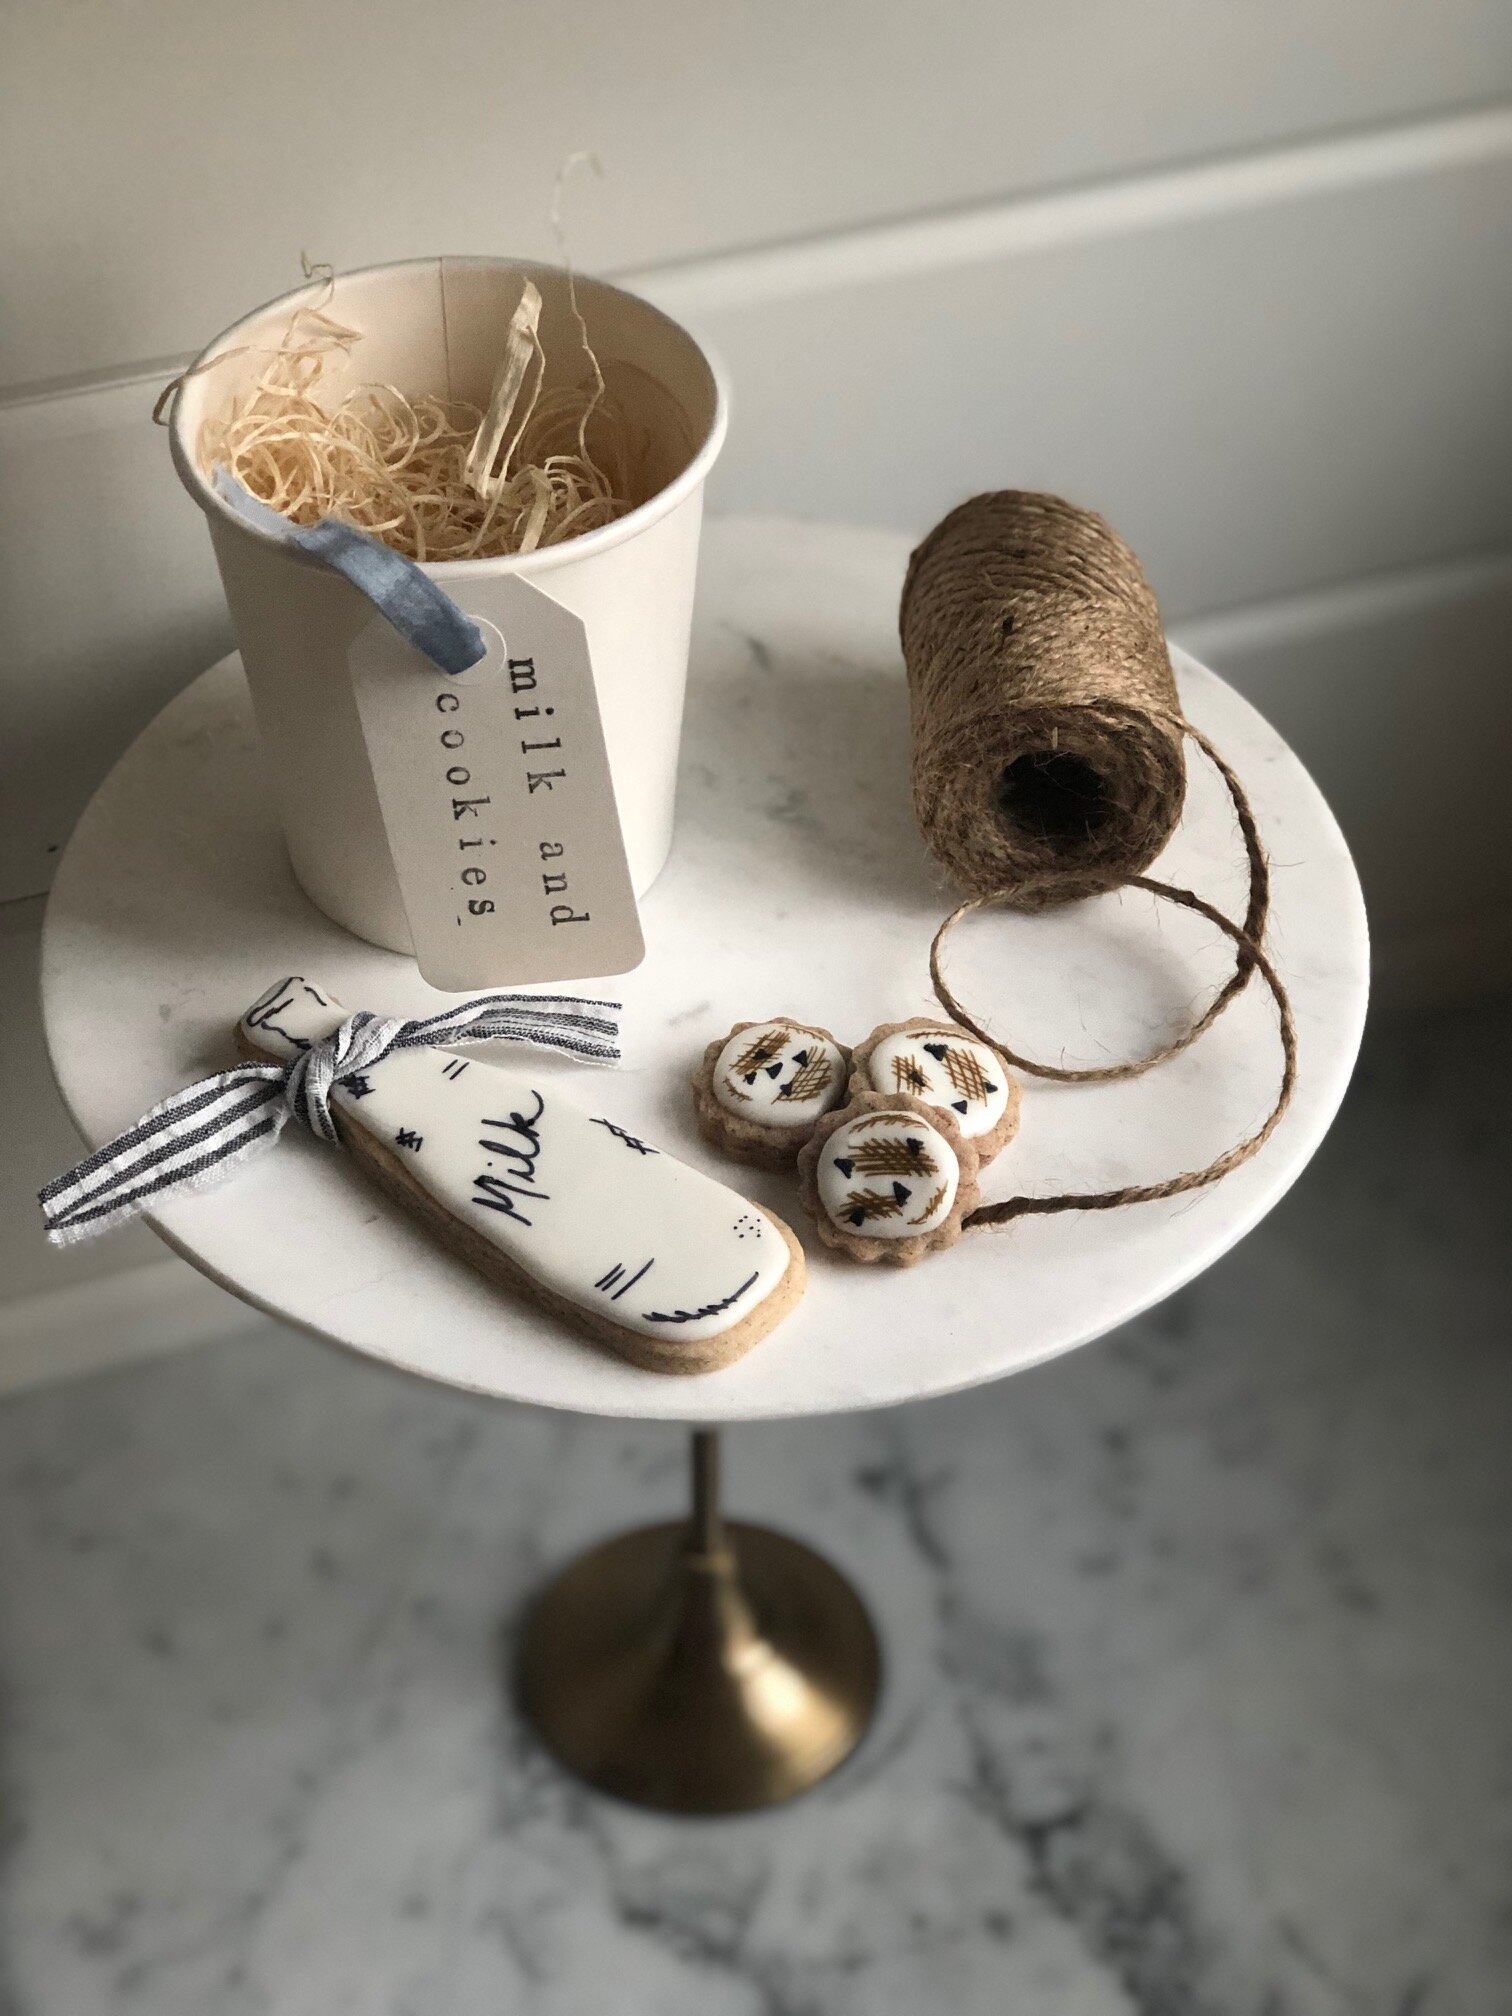
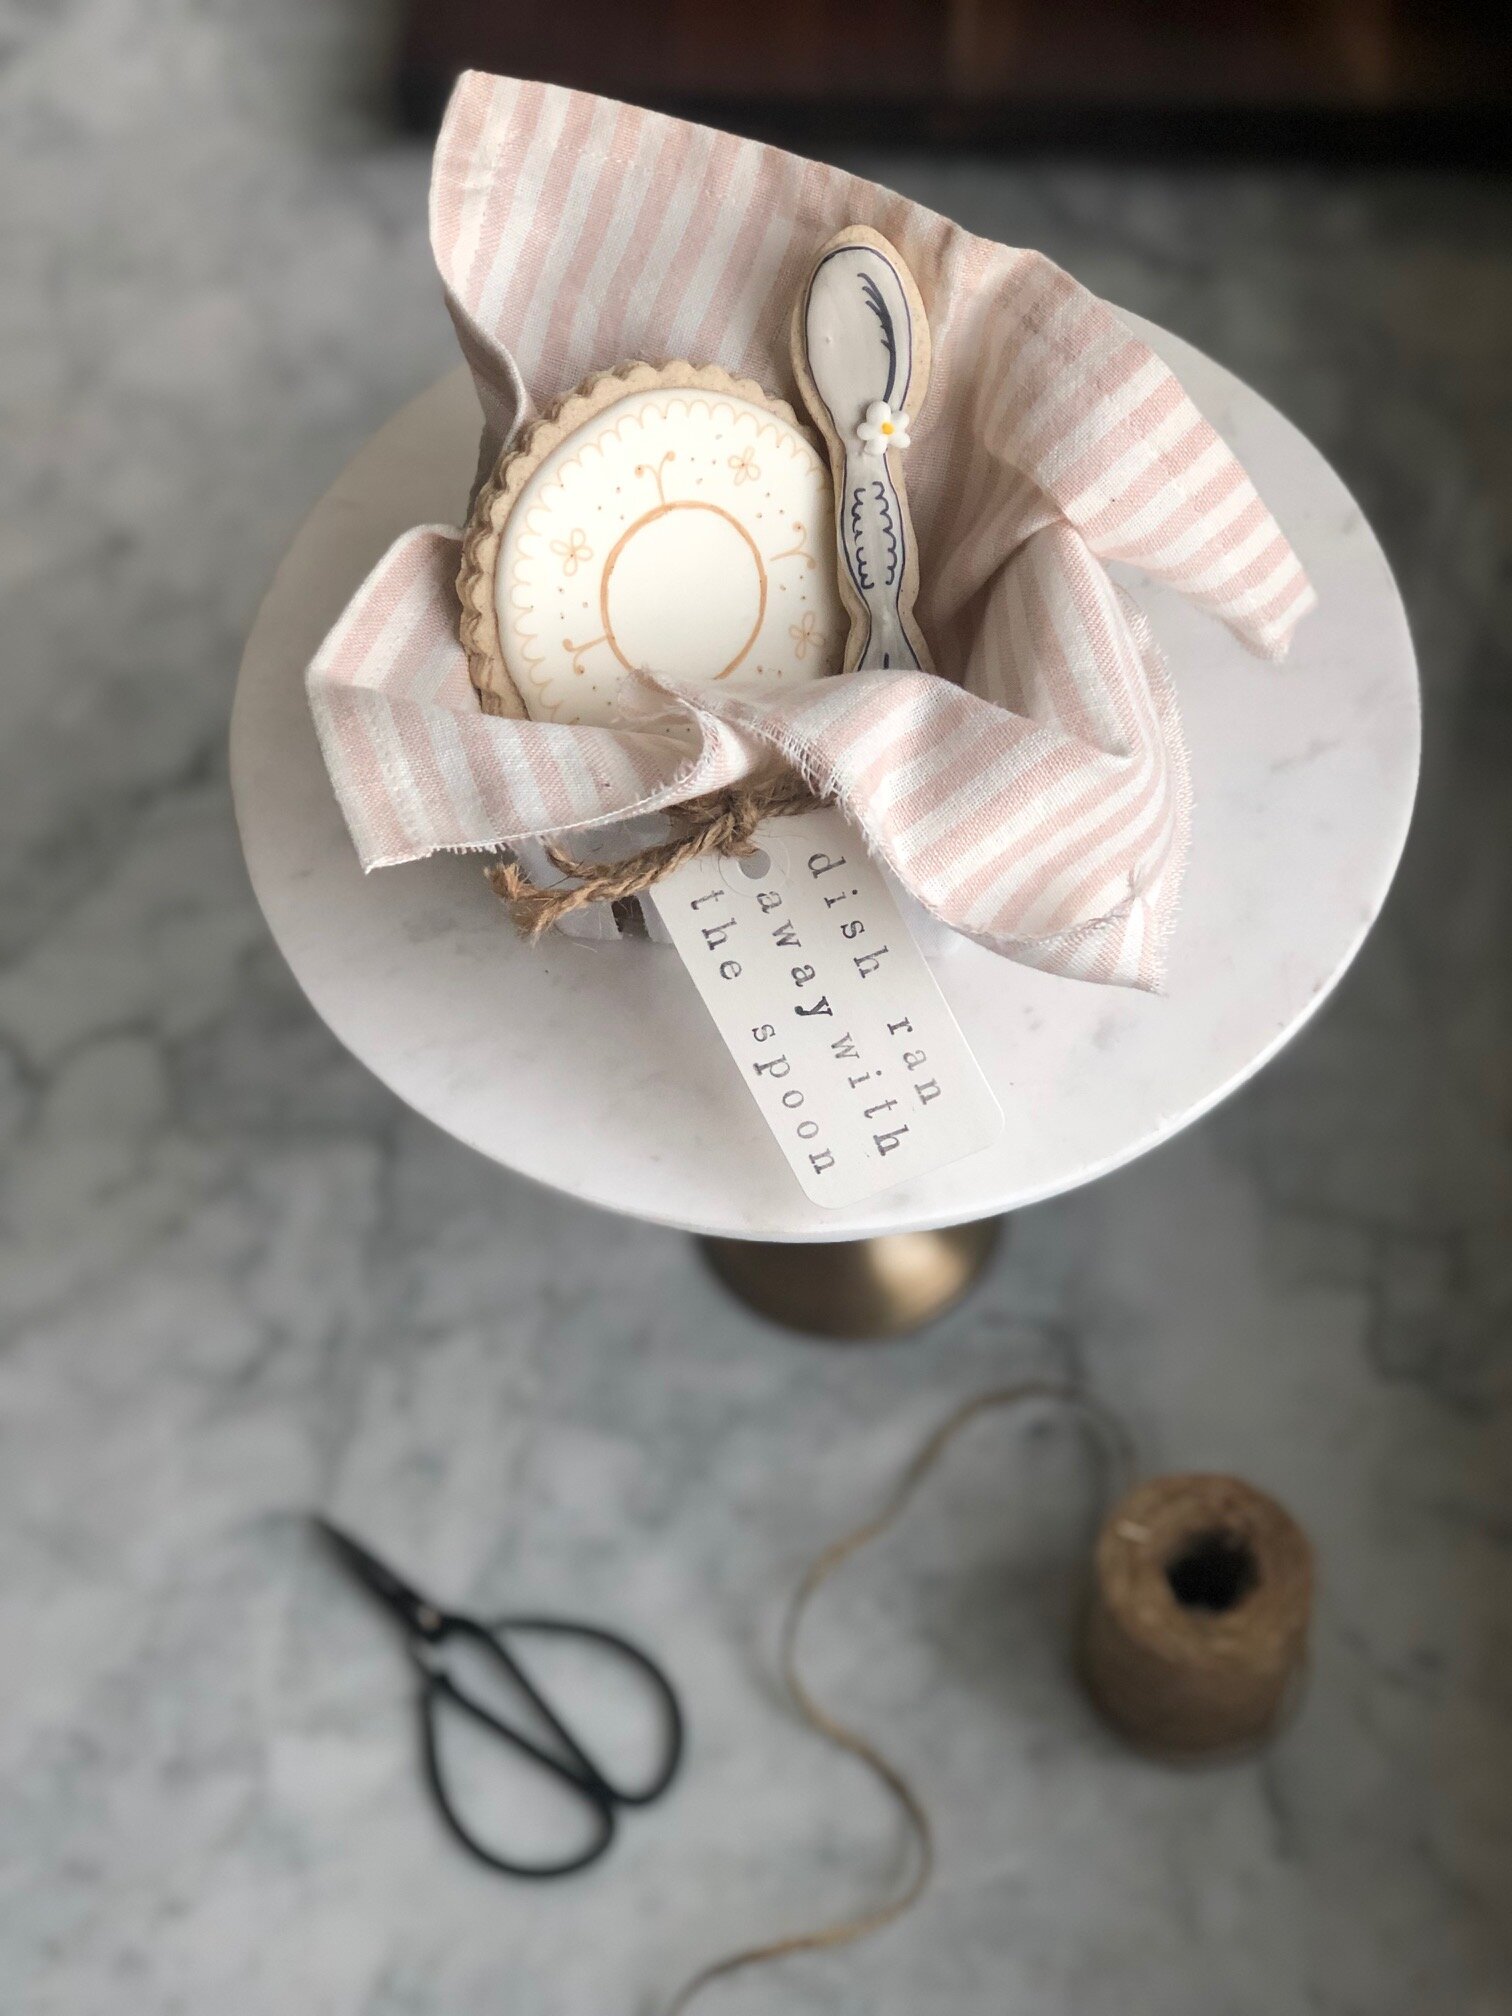
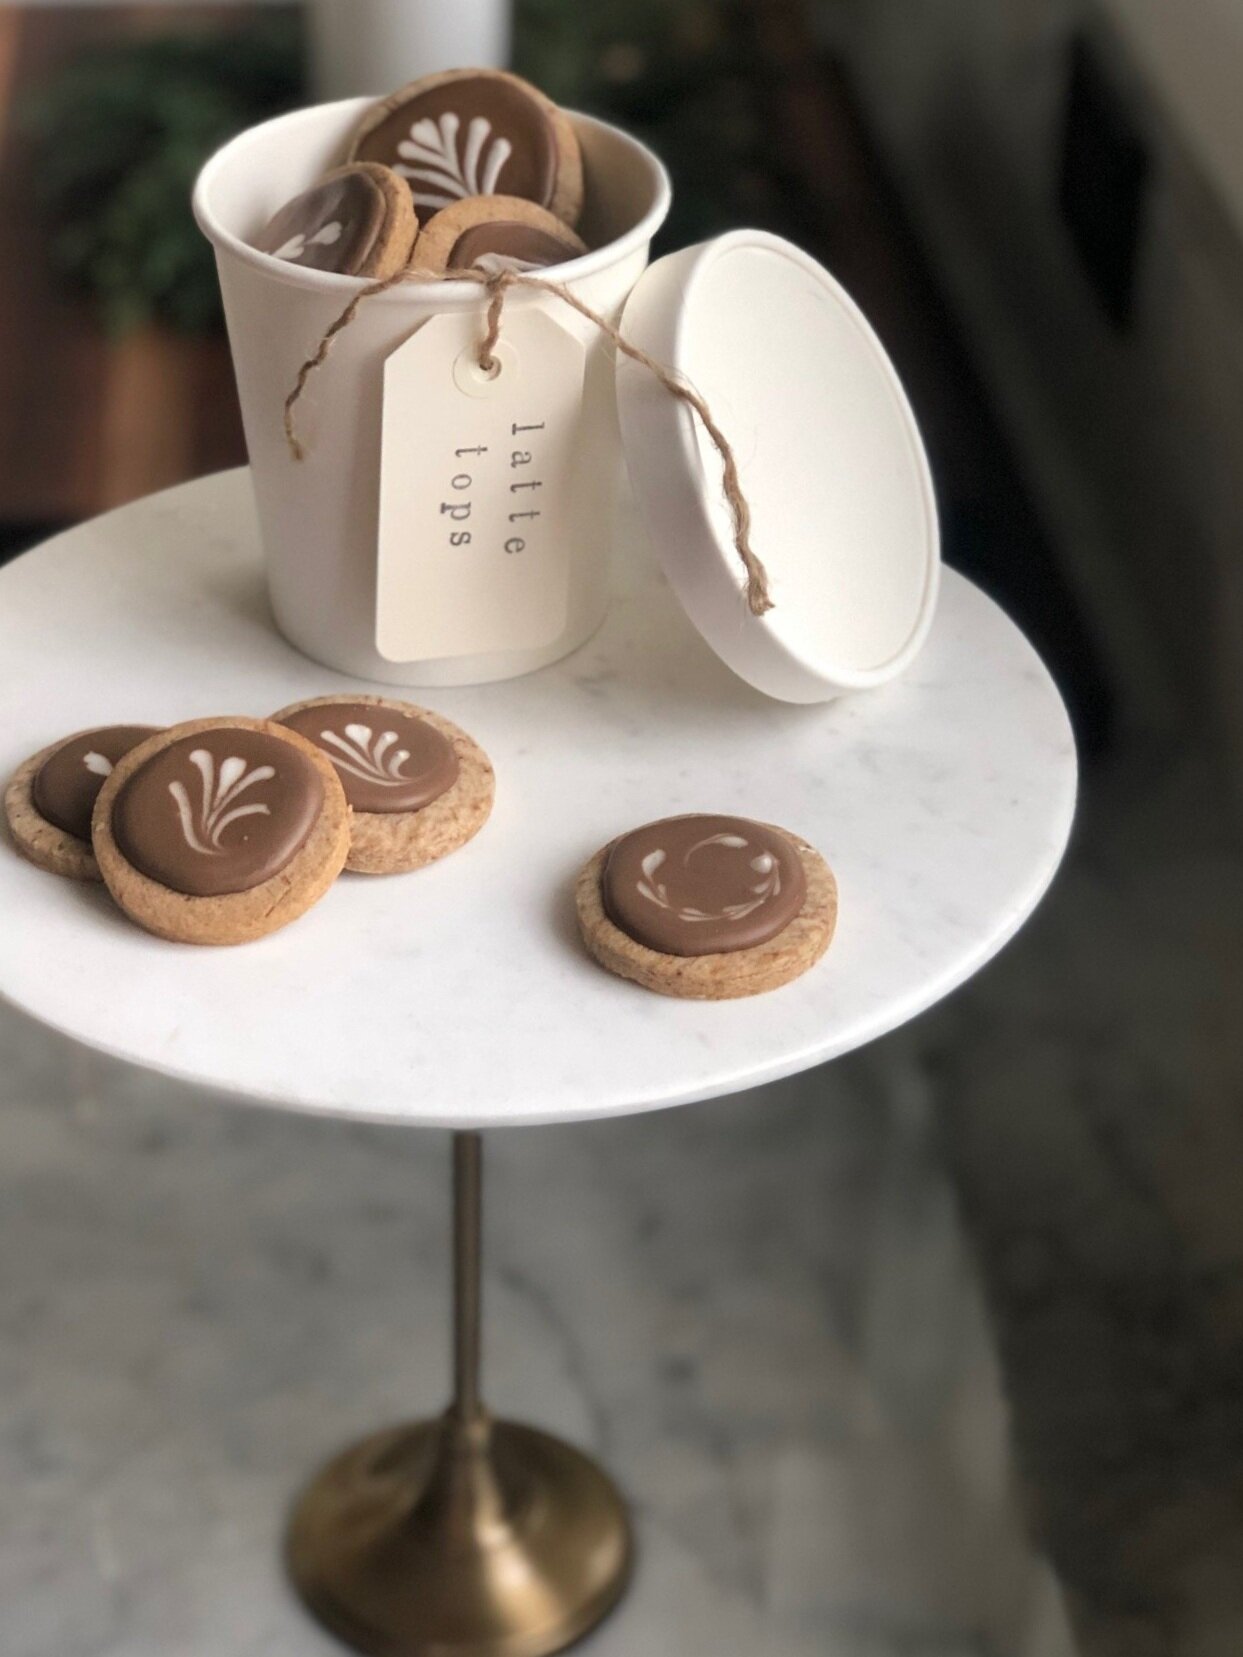
After mixing and matching sticks with trivets, I laid the trivets upside down and marked the center of each in pencil. Then using a generous amount of E6000, I epoxied the top of the candle sticks to the center marks on the underside of the trivets. After leaving to dry overnight, it was time to flip them right side up and see if they would actually stand with the weight of the marble. Much to my delight {and surprise} they did. It has to be said, these are indeed top heavy. I have to be careful that the weight placed on them from the cakes and cookies is carefully balanced. I wouldn’t store them or use them within reach of children in the event that they do tip over. When I do use them I generally keep them adjacent to a wall. They have to be cleaned carefully, to not disturb the epoxy. So, they are the most high maintenance, infrequently used cake stands in my collection but I do adore them. The mix of brass and marble is really pretty. They are beautiful for photos. And if I ever decide they aren’t worth the trouble, I’m pretty sure marble trivets and brass candlesticks on their own will stand the test of time.
All images copyright 2015-2022 The Linen Rabbit. All rights reserved.